
Gardening
How To Easily Grow Shallots
Jun
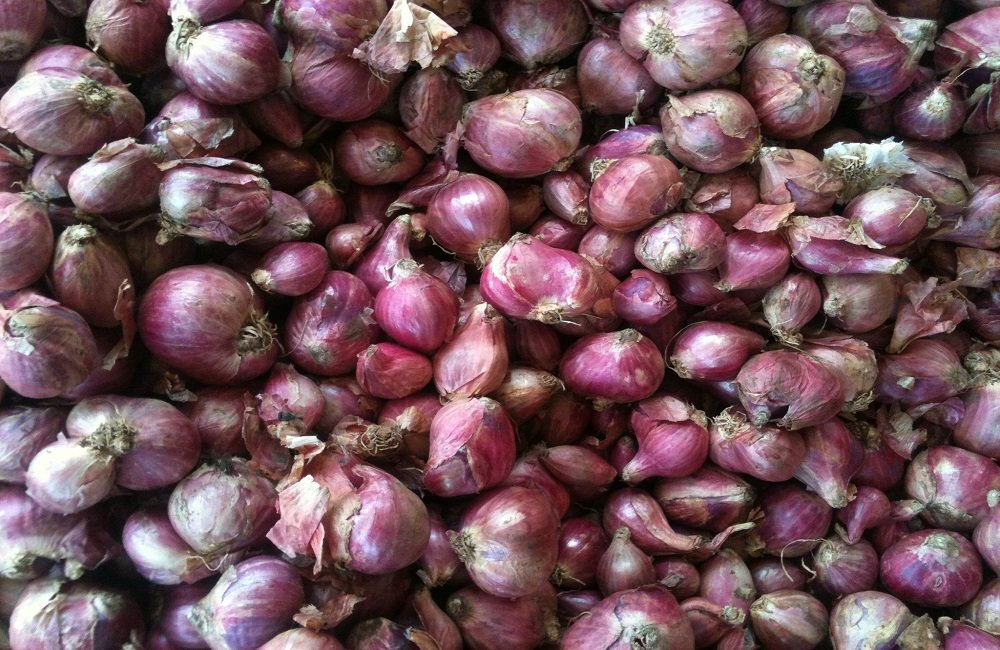
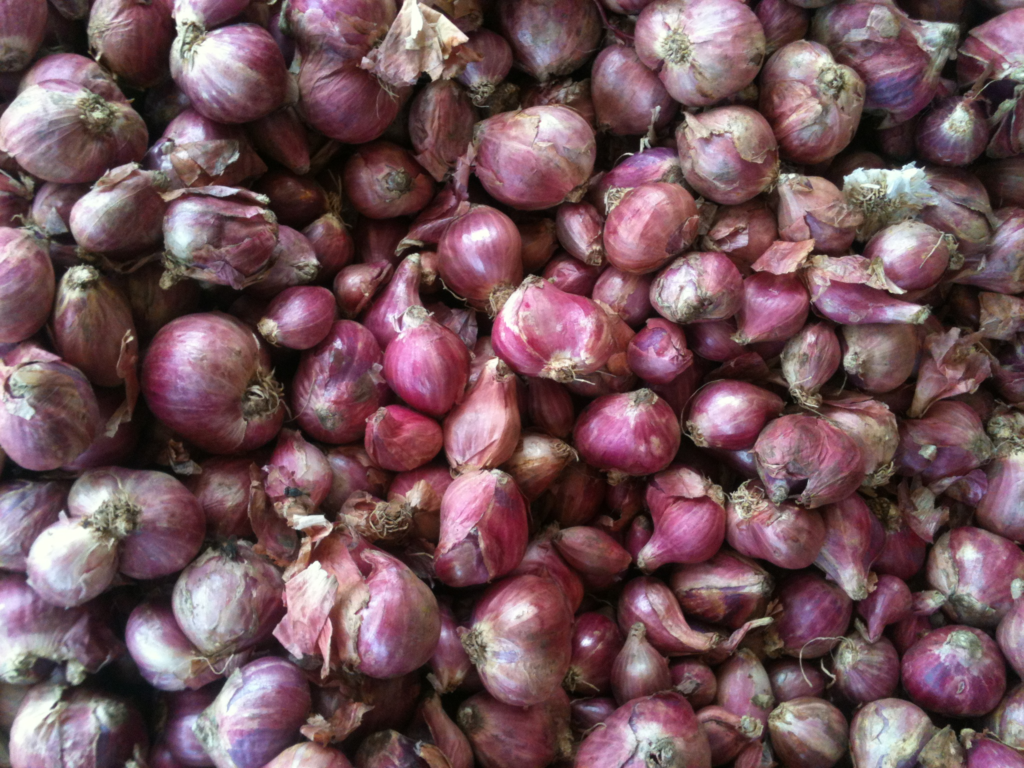
Shallots, sometimes referred to as gourmet onions or multiplier onions, resemble overgrown green onions and have a flavor that is a hybrid of garlic and onion. Despite its apparent identity issue, the vegetable is well worth having on your table and in your home garden.
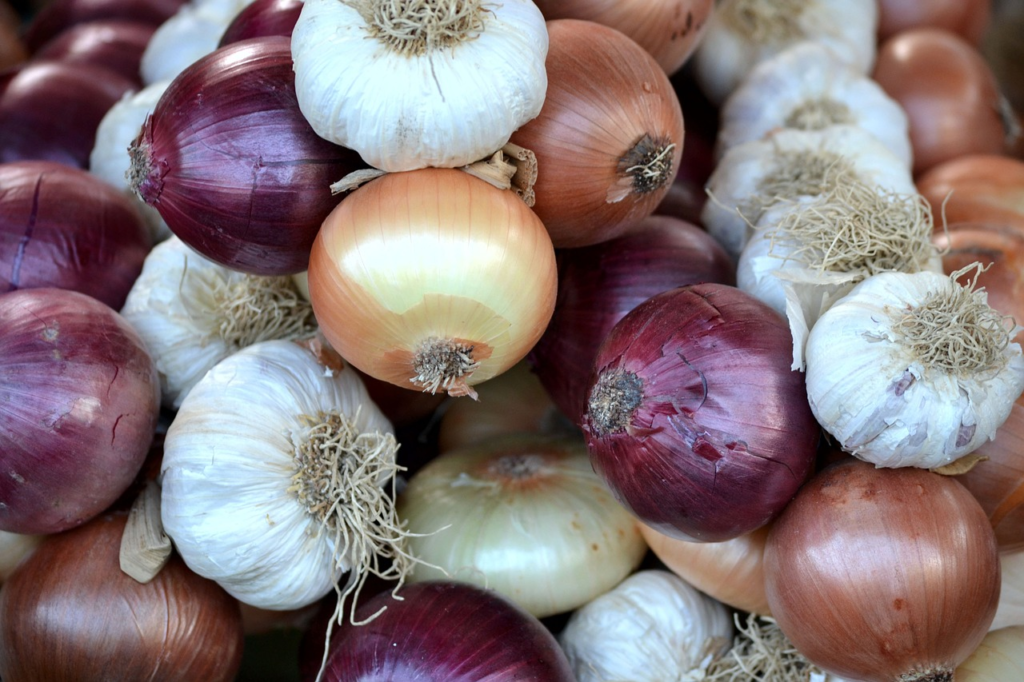
Even if you’re not familiar with shallots, you’ve probably seen them at the grocery store. Usually, they are situated next to the onions or garlic.
Shallots belong to the allium family and are simple to grow. They require rich soil and full sun. Shallots can be planted in the spring for a late-summer yield or in the fall for a harvest the following spring.
Additionally, some shallot bulbs can be saved for planting the following year.
Popular Varieties of Shallots
There are several types of shallots you can grow, each offering unique flavor profiles and characteristics:
- Dutch Yellow – Mild and sweet, ideal for general cooking.
- French Red – Deeply flavored, often used in gourmet dishes.
- Holland Red – Robust and slightly spicy.
- Crème Brûlée – Delicate in flavor, great for sauces.
- Monique French – Subtle and aromatic, perfect for raw use.
- French Gray – Known for its rich taste, but only propagated through sets as it rarely flowers.
Best Planting Zones
Shallots grow best in USDA Hardiness Zones 4 through 10. This makes them a reliable crop for a wide range of climates.
When to Plant Shallots
You can plant shallots in either fall or early spring, depending on your local climate:
- Fall planting typically results in an early summer harvest.
- Spring planting leads to a late summer harvest.
Growing From Seeds
Direct Sowing in the Garden
- Timing: Plant seeds in early spring, as soon as the soil can be worked.
- Depth & Spacing: Sow seeds ¼ inch deep and 2 inches apart in rows spaced 12 inches apart.
- Thinning: For larger bulbs, thin seedlings to 3 inches apart.
Starting Seeds Indoors
- Start Time: Begin 8–10 weeks before your area’s last expected frost.
- Containers: Use trays or small pots at least 2 inches deep.
- Care: Keep soil moist, cover with plastic wrap, and place in a warm location. Germination typically takes 10–14 days.
- Transplanting: Move seedlings outdoors once the danger of frost has passed.
Planting Shallots from Sets
Shallot sets are small bulbs that multiply after planting and are ideal for growing larger yields.
- Quantity: One pound of sets can yield 10–15 pounds of mature shallots.
- Timing: Plant in the fall, about four weeks before the first expected frost.
- Depth & Spacing: Place individual bulbs 1 inch deep and 6 inches apart, root side down.
- Mulching: Apply 2 inches of mulch like straw to insulate shallow roots and protect bulbs over winter.
In spring, once growth resumes, gently pull back the mulch and apply an organic fertilizer to support development.
Light & Soil Requirements
- Sunlight: Shallots need 6 to 8 hours of direct sunlight daily.
- Soil: Use loose, fertile soil enriched with compost. Avoid heavy or compacted soil, which can hinder bulb development.
- Raised Beds & Containers: These are excellent options for controlling soil quality and drainage.
Watering Tips
After the seeds or sets germinate:
- Frequency: Water only when the top inch of soil feels dry.
- Amount: 1–2 inches of water per week is typically sufficient.
- Technique: Water at the base of the plant to avoid wetting the foliage.
Temperature Conditions
- Ideal Range: 55°F to 65°F (13°C to 18°C)
- Dormancy: Shallots need a cool period (around 30 days) after planting to establish dormancy, which is critical for proper bulb development.
Fertilizing Your Shallots
- Use natural amendments like compost, aged manure, bone meal, kelp, or fish emulsion.
- Avoid high-nitrogen fertilizers, which can lead to thick necks and increase the risk of neck rot.
- Apply a second round of fertilizer just before bulbs begin to enlarge.
Harvesting and Curing Shallots
Shallots take about 90 to 120 days to reach maturity from seed.
Signs of Maturity:
- The neck of the plant softens.
- Green tops begin to flop over.
Harvesting Steps:
- Gently pull the bulbs from the soil.
- If they resist, loosen the soil around them carefully to avoid damaging the stalk.
- Shake off excess soil.
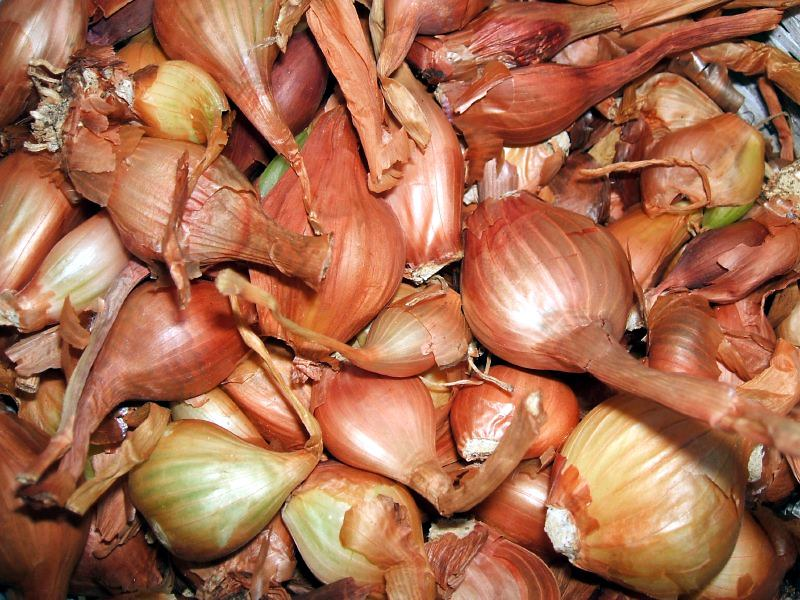
Curing:
- Lay shallots in a single layer in a shaded, well-ventilated area for 7 days.
- If the weather is dry, they can also be cured outdoors in a shaded garden spot.
- Avoid sun exposure to prevent sunburn on the bulbs.
Storage:
- Once cured, trim tops and roots.
- Store in a cool, dry area. Properly stored shallots can last up to eight months.
Harvesting Green Tops
You can begin harvesting the green leafy tops about 30 days after planting. These are excellent as substitutes for green onions or chives.
Pests and Diseases
Like other plants, shallots are prone to pests and diseases.
White rot, rust, and pink rot are a few fungal illnesses to be mindful of. All of these have an impact on shallots from the root end to the leaves.
Remove any affected plant material right away if you notice this on any of your plants in an effort to stop the disease’s spread. For years, it might remain in your soil.
It’s a good idea to put plants from the allium family in this garden bed a few years in advance if you’re undertaking a crop rotation.
Final Verdict
For both inexperienced and experienced gardeners, growing shallots can be a very fulfilling experience. They are perfect for raised beds, backyard gardens, and even containers because they need little room and maintenance. Knowing the ideal planting periods, soil types, and watering requirements will greatly improve your chances of a successful harvest, regardless of whether you begin with seeds or sets.
Shallots add a unique, mild onion flavor to a variety of dishes, making them a versatile staple in the kitchen. Plus, their long storage life means you can enjoy your homegrown produce well beyond the growing season.
You may grow healthy shallots year after year by following their light, temperature, and soil requirements, as well as by using appropriate crop rotation and disease prevention techniques. Remember to use the green tops as a cooking element or as a fresh, tasty garnish.
Shallots can be a useful and satisfying addition to your garden that will provide both gastronomic pleasure and gardening joy if you have patience and put in a little work.